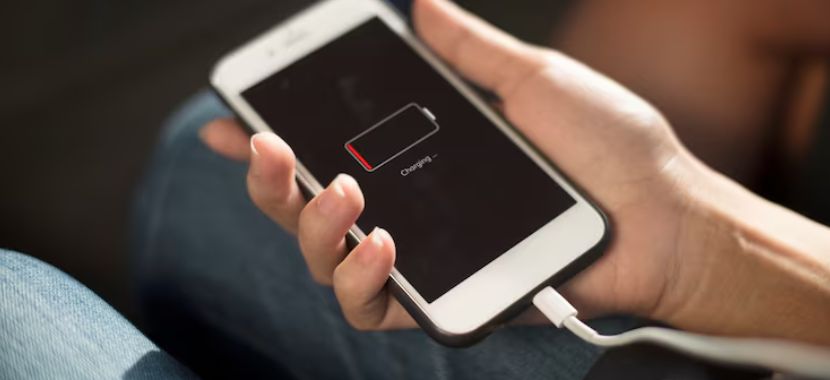
If your phone keeps losing power while it’s plugged in, you might be thinking why is my charging port loose because it can ruin your whole day. A loose connection can happen for small reasons, so it’s not always a big problem.
A loose charging port doesn’t always mean expensive repairs. In many cases, the issue is caused by dust buildup, a worn charging cable, or small daily habits that slowly damage the connection.
In this guide, you’ll learn about types of charging ports and how to fix a loose charging port at home with simple steps. You’ll also learn easy tips to keep your charging port from getting loose again.
Types of Charging Ports
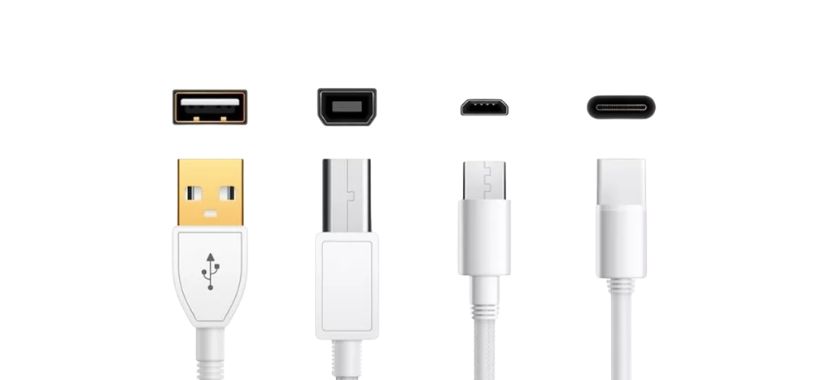
Different phone brands and devices use different charging connectors. Some charging ports are newer and support fast charging. Others are older but are still widely used in many devices. Below are the most common types of charging ports you will find:
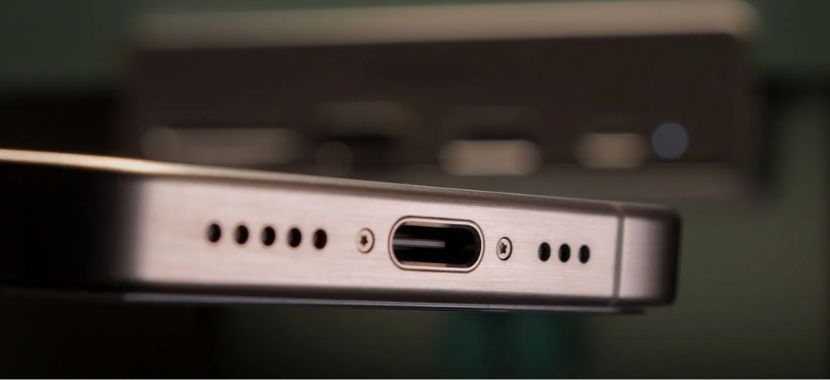
USB-C: USB-C is the most common charging port in the market today. It is also known as a type C port charger. Most modern Android phones, tablets, and even laptops use this connector. Today, many manufacturers use USB-C as the standard charging port because it is small and reversible. USB-C supports fast charging and high-speed data transfer.
Lightning: USB-C is becoming more popular for new devices, but Lightning is still widely available and common on many Apple products. including several iPhone and iPad models. This connector is slim and made to fit tightly into the charging port on your phone. It supports charging, data transfer, and accessory connections.
Micro-USB: Micro-USB is an older type of charging port. It is not as common on new phones now, but it is still available in the market because many older devices still use it. It is a small standard connector for data transfer and charging. You will still see it on some older Android phones and a lot of small gadgets like Bluetooth speakers, power banks, and basic accessories.
USB-A: It connects to one end of your charging cable. The other end of that cable then plugs into your phone charging port, such as USB-C or Lightning. That means even though USB-A does not go directly into your phone, it still plays a big role in how your device charges. If this side becomes loose or worn out, your phone may charge slowly or disconnect even if the phone’s port is fine.
Signs Your Charging Port Is Damaged
Sometimes a charger feels loose for simple reasons, like a worn cable or dirt in the port. But there are times when the problem is the port itself. If you notice the warning signs early, you can stop the issue from becoming bigger charging problems later. Here are the clear signs that your charging port may be damaged:
- Your phone only charges when you hold the cable at a certain angle.
- Charging keeps stopping and starting, even after testing with another cable.
- The charger feels very loose and does not sit firmly in the port.
- The cable slips out easily without resistance.
- You see bent or broken metal parts inside the port.
- Your phone gets unusually hot while charging with a reliable charger.
If you notice these signs and the problem keeps getting worse, the port may need professional repair. You can check the current charging port repair cost.
How to Fix a Loose Charging Port (DIY Step-by-Step Guide)
You should do a few safe checks at home on the port before you spend money on a fix or decide that it needs that. These steps can fix the problem at home. They can also help you know when it’s time to take your phone to a professional technician. Now start with the easiest testing process below:

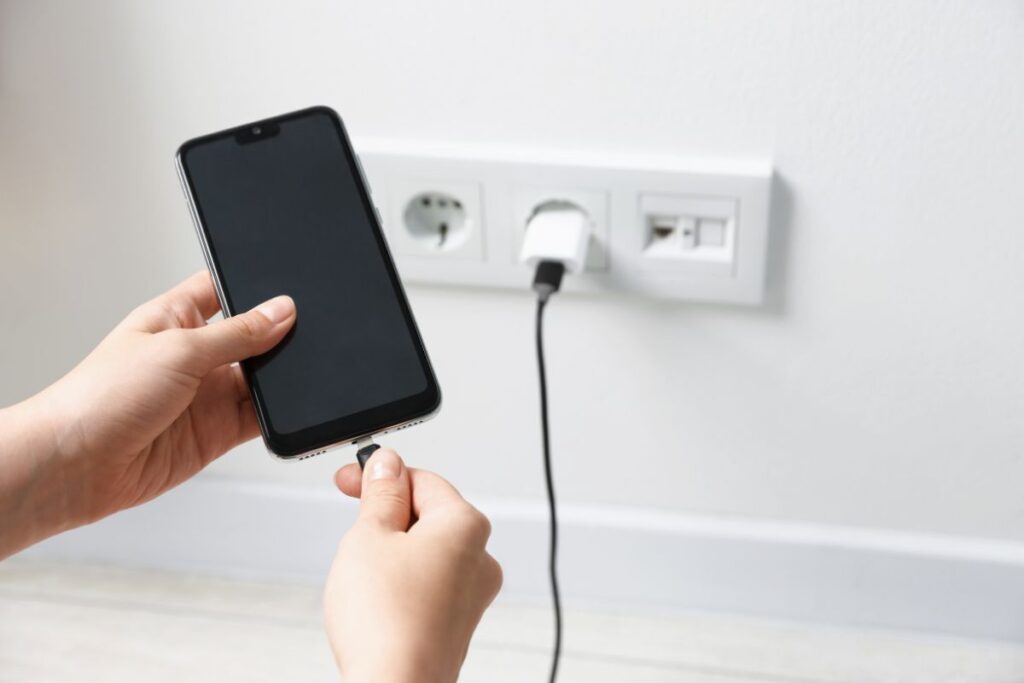
Step 1 —Try a Different Charger Cable
Use another charging cable that you know works. Plug it into the adapter, then connect it to your phone and push it in gently until it sits fully. Once it’s in, place your phone on a flat surface and let it charge for about a minute.
Now, lightly move the cable near the connector and check if charging stays solid. You can unplug and plug it back in once more to confirm. If it stays stable, keep this cable; if it still drops, go to the next step.
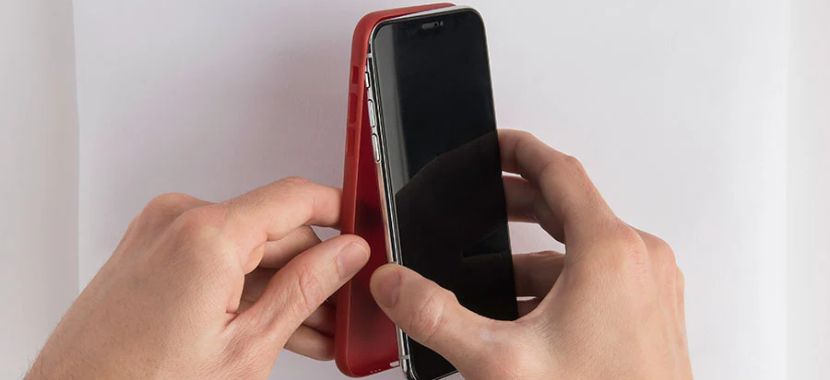
Step 2 — Remove Your Phone Case
Take off your phone case and try charging again because some cases stop the plug from going in all the way, even when it looks connected.
Now plug the charger in gently until it fits fully, then place your phone on a table and let it charge for about a minute. If it feels tighter and charges correctly without the case, it means the case was blocking the charge.
But if it still feels loose, go to the next step.
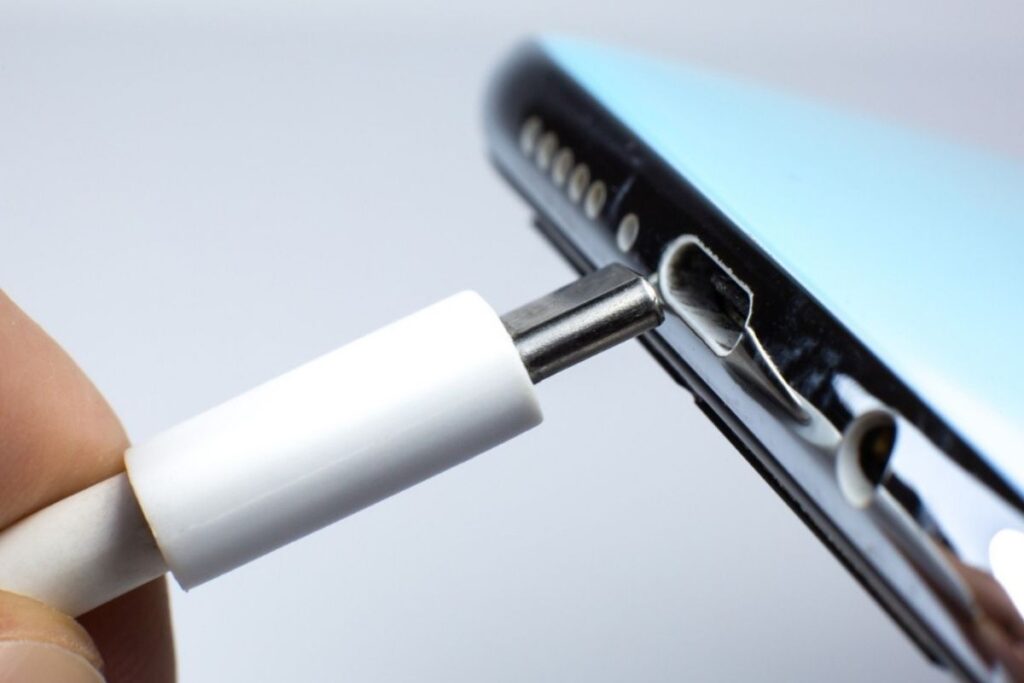
Step 3 — Check Inside the Charging Port
Now take a close look inside the charging port. Use a small light or move near a bright area so that you can see clearly. Shake your phone a little and look inside for dust, lint, or small pieces of dirt. Even a small buildup can stop the charger from going in fully.
Do not insert anything inside yet. Just look carefully and see if you notice anything blocking the opening. If you see visible dirt or lint, move to the next step to clean it safely. If the port looks clear but still feels loose, continue to the next step anyway.

Step 4 — Carefully Clean Out Dust or Lint
If you see dirt inside the port, turn your phone off before cleaning. Hold it so that the port is looking down. This will make it easy for dust to fall out.
You can use a wooden toothpick or a small plastic tool and gently remove the lint from the edges. Don’t rush the process, because pushing too hard can force debris deeper inside the charging port and potentially cause more damage. So take your time!
If you have compressed air, give it a few short bursts to clear out any remaining dust. Once the port looks clean, turn your phone back on and move to the next step to test the connection.
Step 5 — Test If the Charger Stays Connected
Now plug your charger back in and make sure it goes in fully. Place your phone on a table and let it charge for about a minute. Watch the charging sign on the screen and see if it stays on. Then lightly move the cable near the plug and check if charging cuts out.
After that, unplug the cable and plug it in again to confirm the same result. If charging stays steady, you’re good to go.
Step 6 — Stop Putting Pressure on the Cable
If the charger still feels loose, think about how you use your phone while it’s plugged in. Try to keep the phone still when charging instead of moving it around.
Avoid bending the cable near the plug. When you unplug it, hold the plug and pull it out straight instead of pulling the cord. These small habits can protect the charging port and help prevent it from getting looser over time.
If you still notice the connection dropping, move to the final step.
Step 7 — Use Wireless Charging for Now (If Available)
If your phone supports wireless charging, you can use it for now. Place your phone properly on a wireless charging pad and check that charging starts normally.
This does not fix the charging port, but it reduces stress on it. It also gives you time to decide if you need a repair.
If the charger still feels loose after you try all the steps, the port may need a repair. Before you decide, you can check the charging port repair cost to get a simple price idea.
And if you’re an iPhone user and iphone charging port is not working, then you can also look at the iPhone charging port repair cost to see what it usually costs for your model.
Tips to Prevent Your Phone’s Charging Port from Becoming Loose
Small daily habits can protect your phone’s charging port and help you to avoid another charging port problem. Follow these easy tips:
- Pull the charger straight out, not sideways.
- When you unplug, grab the plug head, not the wire.
- Never put your phone in a bag, case, or pocket that is full of dust and lint.
- If you can, don’t use your phone too much while it’s charging.
- Stick to a good cable that fits tight and doesn’t wiggle.
Final Thoughts
A loose charging port can start small, but it usually gets worse when you ignore it. If your phone is still not charging properly after trying the steps above, that means the port may need professional charging port repair.
If you’re in Miramar and want an expert electronics handler to check it for you, visit Techy Miramar. You can also get a free quote so you know the cost before you decide.