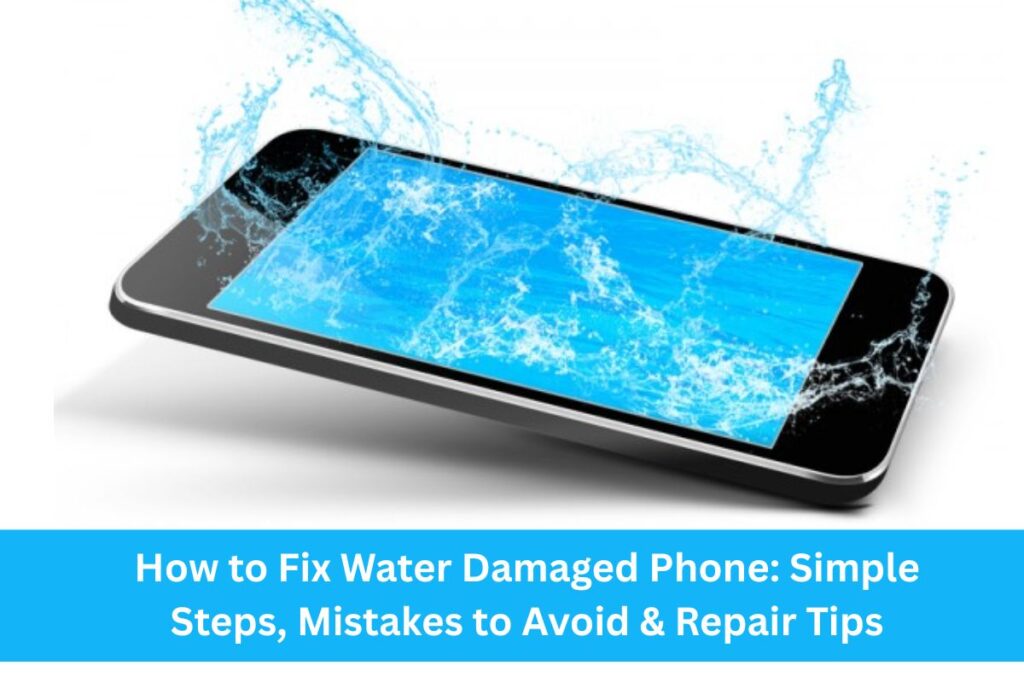
We’ve all had that scary moment when a phone drops into water, but don’t worry, because a wet phone isn’t always gone for good. If you’re wondering how to fix water damaged phone, the best thing you can do is to react quickly and avoid mistakes that make the damage worse. With a few simple steps, you can solve the problem at home. In this guide, you’ll see what to do if your phone gets wet, how to dry it safely, and when it’s better to get help from a repair shop.
Step-by-Step Process on How to Fix Water Damaged Phone
If your phone fell in water and you don’t know what to do, don’t panic. The first few minutes are very important. By acting fast, you can often fix a phone after water damage at home and avoid bigger problems. This step-by-step process shows you what to do if your phone gets wet, how to dry out a wet phone safely, and when to test it again. Given below are:
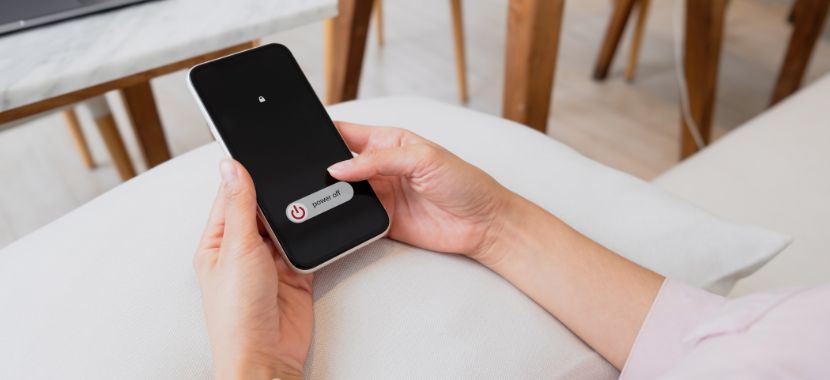
Step 1. Turn Off Your Phone Right Away
The first thing you need to do is turn your phone off right away. If it stays on, water can cause a short and ruin the inside parts. Even if the phone looks fine, don’t press anything. Turning it off is the safest move when your phone falls in water or won’t turn on after getting wet. Once it’s off, you’re ready for the next step.
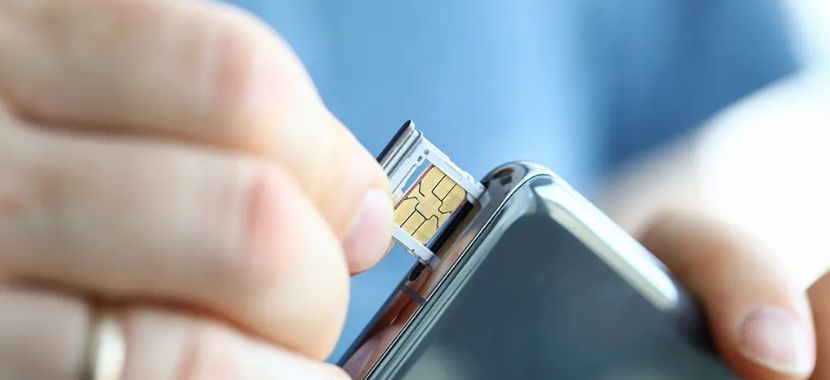
Step 2. Take Out Cards and Accessories
After turning your phone off, the next step is to take out the SIM card, memory card, and case. These small parts can hold water inside and make it harder for your phone to dry. By removing them, you give your phone more air so it can dry faster. This is an easy but smart move when you’re trying to fix your phone after water damage at home.
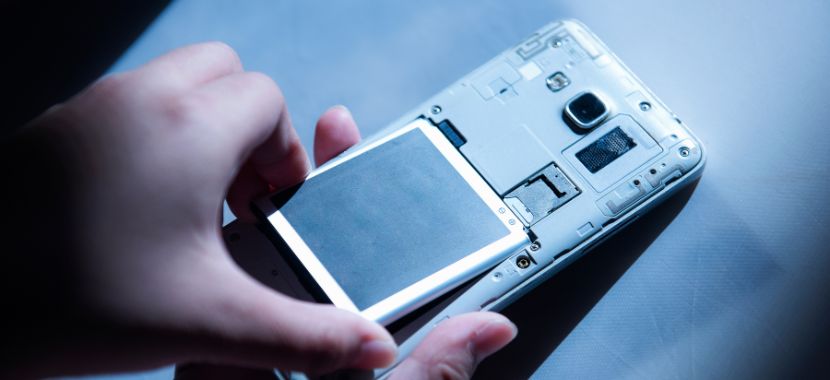
Step 3. Remove the Battery (If You Can)
If your phone has a battery that comes out, then take it out. This will help stop any power from flowing through the phone while it’s still wet. If your phone has a built-in battery, don’t worry, because you can skip this step and keep going. Taking out the battery is one of the safest moves when your phone is dropped in water.
Step 4. Dry Your Phone the Right Way
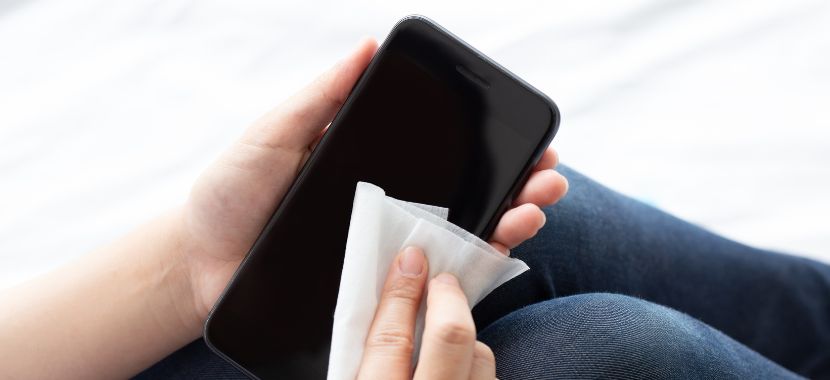
After you remove the battery and cards, the next step is drying the phone the right way. Avoid using heat, as devices like hairdryers, ovens, or heaters can melt small parts and even push the water further inside. Instead, pat the outside with a soft cloth to remove surface water.
After that, place your phone in a sealed bag or box with silica gel packets. Remember, Silica works far better than rice when trying to dry out a wet phone. Once it’s inside, leave it alone for at least 24–48 hours so it has the best chance to recover.
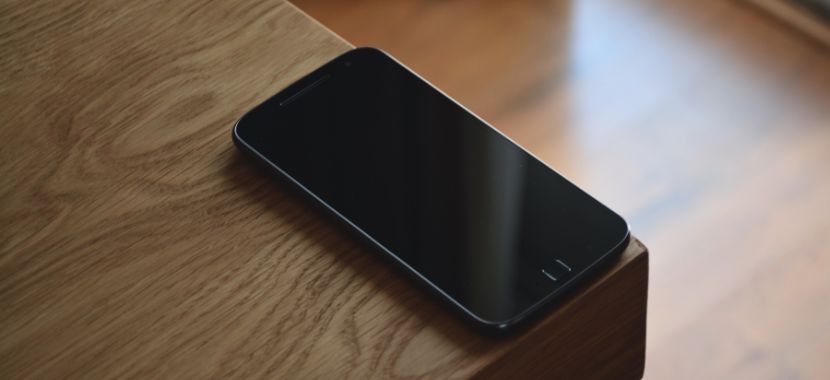
Step 5. Wait Before You Try It
After putting your phone in silica gel, the hardest thing to do is nothing at all. You’ll probably want to check it, but avoid your desire to do so because turning it on too soon can undo all the work you just did to remove the water. In this case, waiting matters so much. Give your phone at least 24 hours, and if you can hold out for 48, that’s even better. Remember this: a little extra patience gives your phone the best chance to dry fully and turn back on without problems.

Step 6. Test Your Phone Carefully
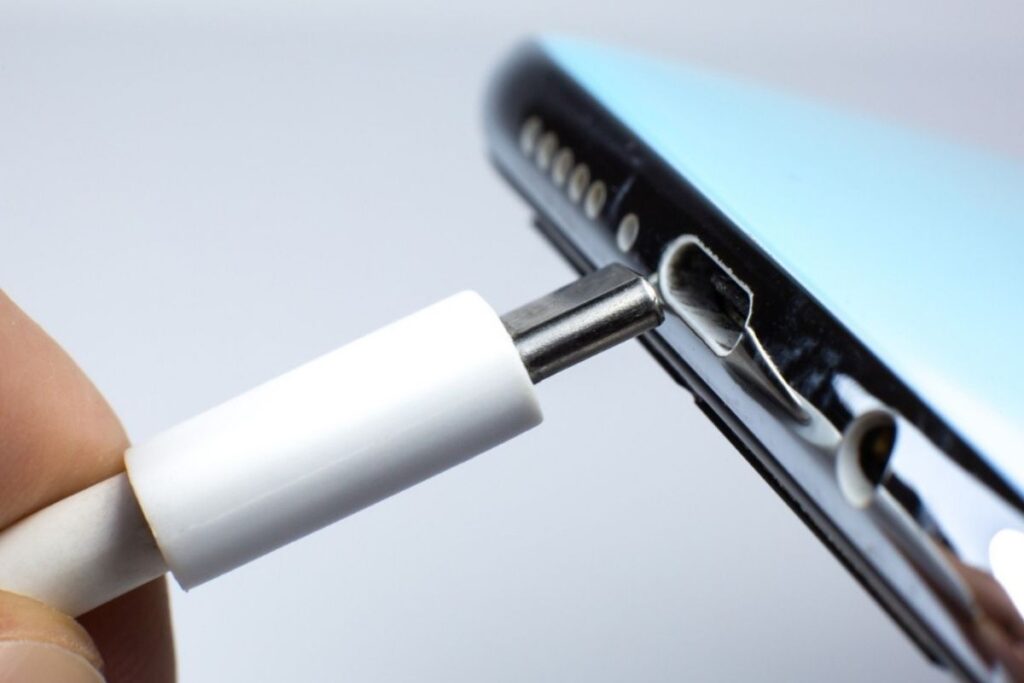
Once you’ve given your phone enough time to dry, it’s finally time to test it. Start by turning it on and see if the screen lights up. If it powers up, check simple things first, like charging, sound, and touch. Sometimes, a phone won’t charge after water damage because the charging port is affected. In that case, a charging port repair might be needed, or you may want to have a repair shop check it.
Common Mistakes to Avoid When Fixing a Water-Damaged Phone
When your phone gets wet, it’s easy to panic and make the wrong moves. Many people try quick fixes, but those can make things even worse instead of better. For this reason, knowing what not to do is just as important as learning how to fix a water-damaged phone at home. To help you avoid that, here are the most common mistakes after phone water damage:
- Don’t turn it on right away – If you switch your phone on too soon, you could short the circuits.
- Don’t charge your phone – Water and electricity don’t mix, and so if you charge your phone, then this can make the damage worse.
- Don’t press buttons or shake it – It will only push the water deeper inside.
- Don’t use a hairdryer or oven – The Heat can damage small parts in your phone and push the water deeper inside.
- Don’t put it in rice – Some people think it’s a quick fix, but the truth is rice doesn’t really dry your phone. Silica gel works much better.
How to Protect Your Phone From Water Damage in the Future
It’s always easier to protect your phone than to fix it after an accident. By taking a few simple steps, you can avoid future water damage to your smartphone. Here are some easy tips you can follow:
- Use a waterproof case – This gives your phone extra safety. Many waterproof phone cases for iPhone and Samsung are affordable and easy to find.
- Keep your phone away from bathrooms and pools – Most accidents happen in these spots.
- Don’t use your phone in heavy rain – Even small drops of water can get inside your phone and slowly cause damage.
- Wipe your hands before using your phone – Wet or sweaty hands can add moisture to your phone without you realizing it.
- Think about phone insurance – Insurance is a smart backup, and it will help if your phone ever gets damaged by water.
Professional Water Damage Phone Repair Company Near You
Even if you follow all the right steps but still your phone may not always recover on its own. If your phone won’t charge after water damage, the screen stays black, or the sound is unclear, these are signs that the problem is deeper. In situations like this, getting professional help is the safest choice. That’s where Techy Miramar comes in. Our technicians can carefully check for hidden water damage and repair or replace the affected parts.
Conclusion
If you act quickly and avoid common mistakes and taking steps like powering it down, removing accessories, and drying it with silica gel can often make the difference. However, when a phone still won’t respond after careful drying, it usually means the problem runs deeper. In that case, you should visit a repair shop like Techy Miramar for reliable smartphone repair services near you. Our team is known for providing trusted water damaged phone repair in Miramar, FL.